How to set up our PrestaShop Module
Our PrestaShop Module allows you to get paid in all our supported cryptocurrencies in your PrestaShop Store, with a simple set-up. First you need to create an account.
In this page we will guide you throught he configuration and installation of our official PrestaShop Module.
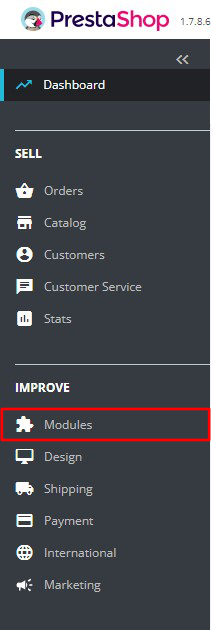
1. Download our PrestaShop Module and access your PrestaShop store's admin area. Click in "Modules" to open a dropdown menu.
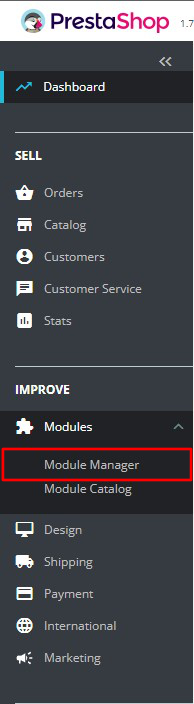
2. In the dropdown menu click Module Manager.
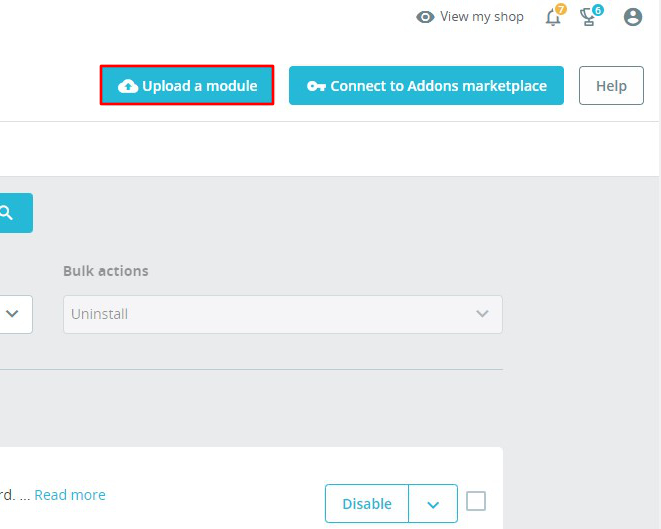
3. After clicking Module Manager you will enter a new screen where you must click Upload a module.
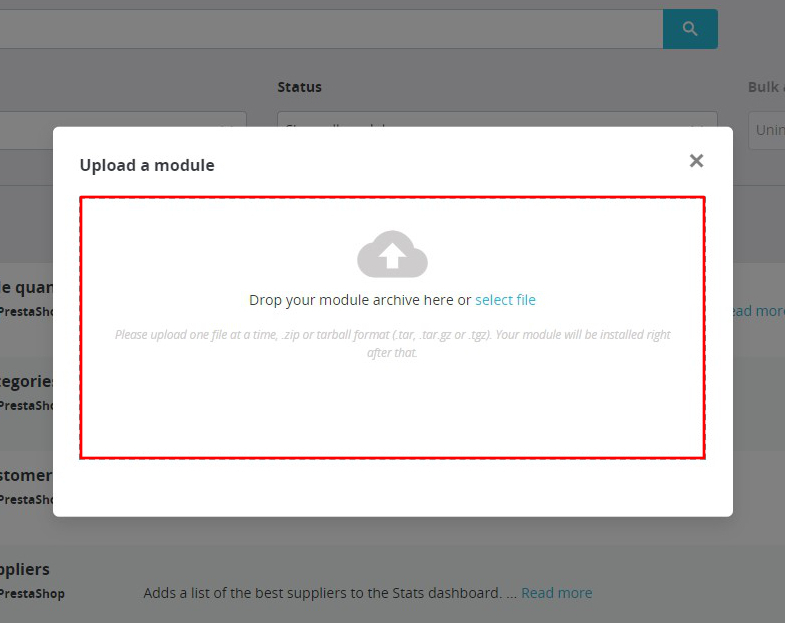
4. You can either drop the zip file in the modal's red area or click "select file" to pick from your file system.
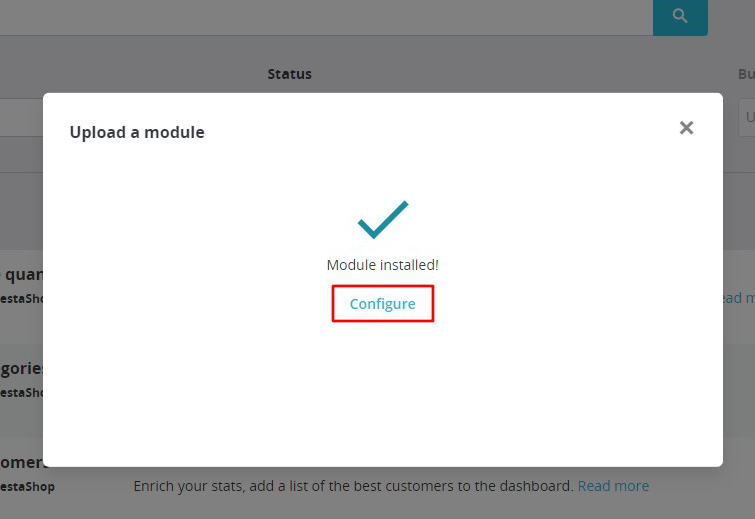
5. Once the installation is completed, click Configure.
6. First, you need to activate the Module. You can configure the rest of the settings to fit your needs.
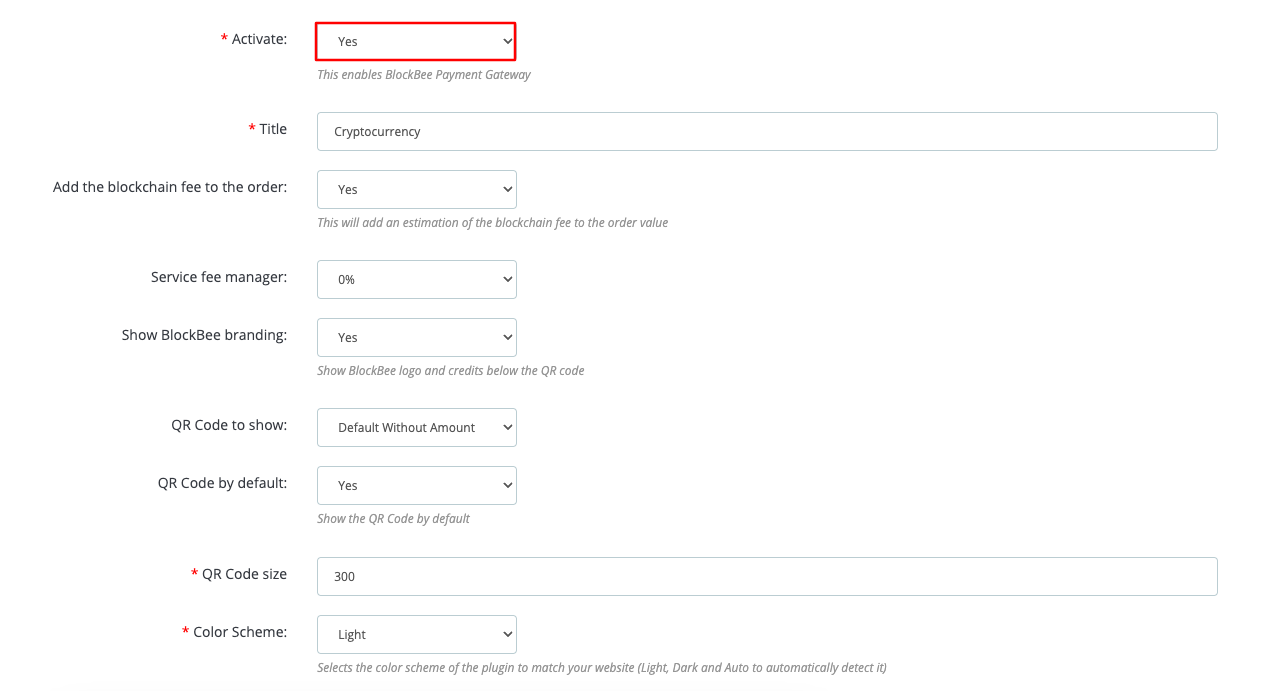
7. Scroll down the settings page so you can see the remaining fields that are mandatory to set up.
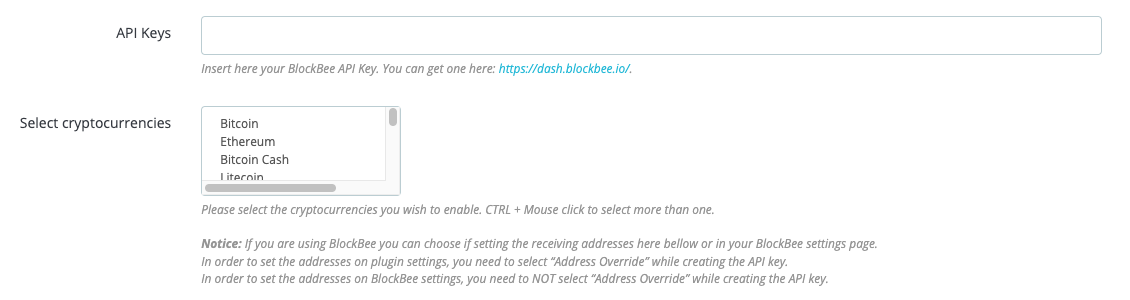
- API Keys: Paste the API Key you obtained from your Blockbee Dashboard.
- Select cryptocurrencies: Select the cryptocurrencies you want to accept in your PrestaShop Store. (You may use CTRL + Mouse click on Windows or Command + Mouse click on Mac to select multiple cryptocurrencies.
8. Here you can define your Cronjob Nonce, though one is already defined by default for you. The automatic conversion and automatic order cancelation need a defined Cronjob to function. For that you must set-up a Cronjob that calls the provided link every 5 minutes. If you aren't sure how this works, please contact your hosting provider.

9. Finally check again your settings and make sure you hit Save before closing the page.