How to set the Payment Settings of your Company
In this article, we will guide you through setting up your Payment Settings. The Payment Settings will be valid in all BlockBee's services where you're using this Company's API Key (POS, Checkout, etc...). Be aware that our e-commerce plug-ins won't be using these settings.
1. To access your Company settings in the BlockBee's Dashboard, you will need to select the option for your Company. If you have not yet created a Company, you will need to do so before proceeding to the settings.

2. In the Payment Settings section you will find the following settings:
- Business Logo: Upload the logo for your business/company that you would like to use in our services.
- Business Name: Enter the name of your business or company that you would like to display.
- FIAT Currency: The FIAT currency will be used in the conversions amongst BlockBee services. E.g: In the POS App or Checkout, this will be used as the FIAT value you input to convert to all your selected cryptocurrencies.
- Selected Coins: Select the cryptocurrencies to use in our service. Currently you can select a maximum of 3 cryptocurrencies and it's possible for you to re-order them as you need.
- Confirmation Number: Set the number of network confirmations needed to mark a payment as paid. Higher the number, the slower the payment confirmation will be. Please be aware that setting it to 0 will mark the payment as paid almost instantly, but it might be unsafe since network hasn't confirmed it yet. Use it at your own risk.
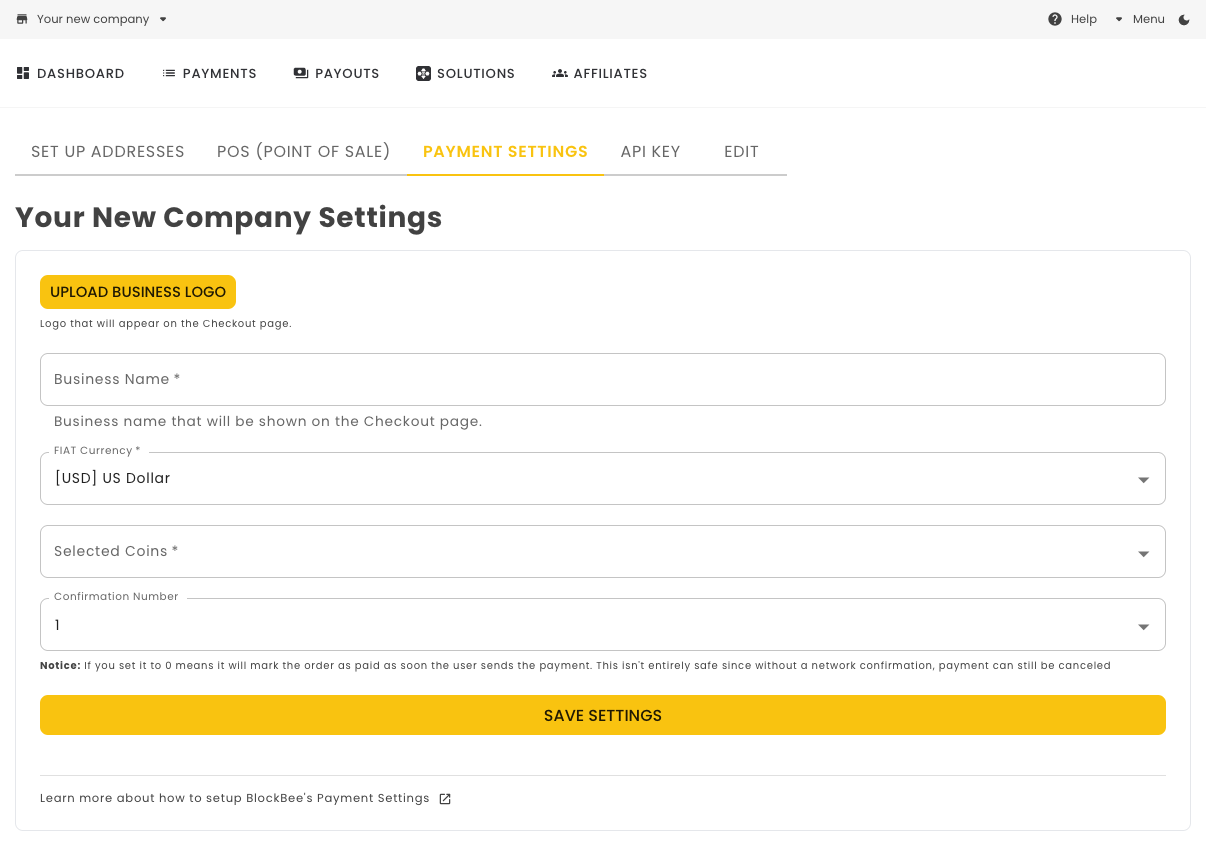
When you're done, please don't forget to click Save Settings.